Calculadora de Metros Quadrados
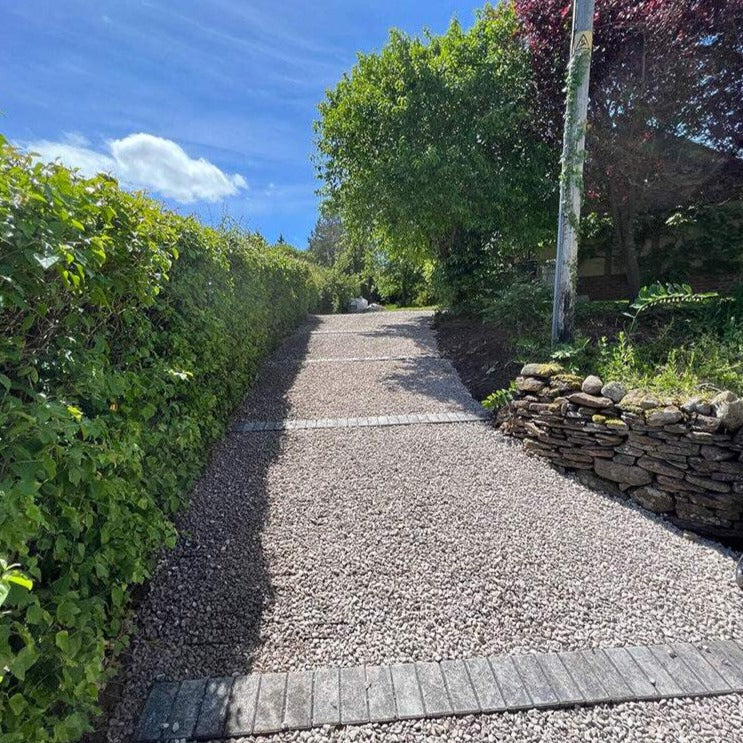
Como Instalar Grelhas de Gravilha: Um Guia Abrangente
Use este guia abrangente para aprender como instalar grelhas de gravilha em qualquer local. Foi escrito pelo fundador do fabricante líder da indústria IBRAN. O guia se baseia em mais de 10 anos de experiência no desenvolvimento do nosso produto e ajudando mais de 100.000 projetos de instalação de grelhas de gravilha durante esse período.
Este guia fornece ideias sobre como colocar uma grade de estacionamento de plástico em praticamente qualquer local.
Siga as etapas descritas para criar a driveway perfeita com grelhas de gravilha:
Etapa 1 - Medir
- Tire as Medidas
- Você precisa de uma sub-base?
Etapa 2 - Pedir os materiais certos
- Peça geotêxtil para acima e abaixo da sub-base.
- Calcule e peça materiais de sub-base para 150mm de profundidade.
- Calcule o número de grelhas de gravilha multiplicando m2 por 4.
- Peça componentes de borda e rampas para instalação em concreto.
Etapa 3 - Preparar a sub-base
- Escavar para uma profundidade mínima de 210mm.
- Forrar o solo nivelado com geotêxtil permeável.
- Preencher com 150mm de sub-base tipo 1/2/3 MOT compactado.
- Cobrir com areia grossa de 10mm nivelada.
- Forrar a areia grossa com membrana permeável.
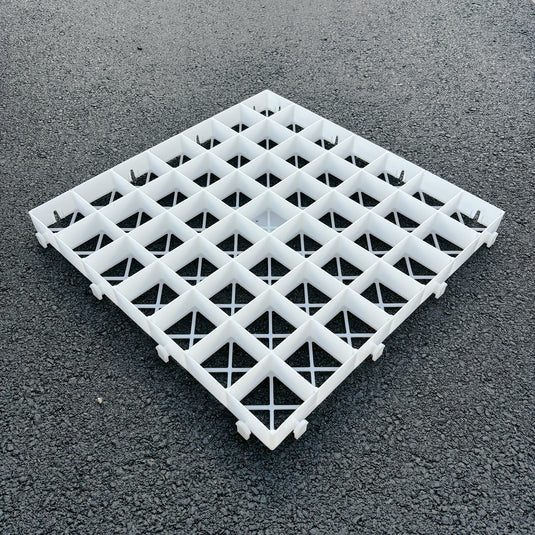
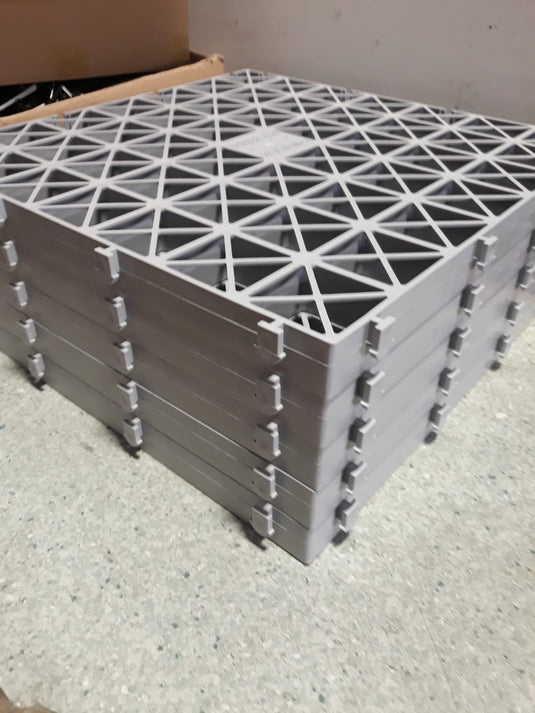
Etapa 4 - Colocar grelhas de gravilha
- Conectando as grelhas.
- Garantindo estabilidade.
Etapa 5 - Preencher com gravilha
Etapa 1 - Medir o Local
Medidas precisas são essenciais para pedir a quantidade certa de materiais.
1.1 Tomando Medidas
Como em qualquer projeto, é importante se preparar bem. Isso significa tomar medidas precisas da área onde você pretende instalar as grelhas de gravilha. Como é improvável que sua entrada seja perfeitamente quadrada, pode ser melhor dividir a área em uma série de seções quadradas a partir das quais você pode medir.
- Tome o comprimento e a largura de cada seção para obter a área. Some essas seções para obter o total aproximado da superfície onde vai colocar as grelhas.
- Use nossa calculadora e certifique-se de arredondar as medidas para o 0,5m mais próximo.
- É útil adicionar 5% a esse total para permitir cortes.
- Se estiver trabalhando com pés e polegadas, converta suas medidas para métrico para pedir a quantidade certa.
1.2 Avaliando a Superfície
Examine seu local cuidadosamente. Você está criando uma nova superfície ou substituindo uma superfície existente?
Superfície existente
Se sua área já tem uma superfície existente, como concreto, asfalto ou pavimentação em bloco, considere se é necessário remover essa superfície ou não. Se o local está muito deteriorado, pode ser um sinal de que a sub-base abaixo está falhando ou que há problemas de drenagem.
- Há grandes quebras no concreto?
- O orçamento permite a remoção completa da superfície existente?
- Há quanto tempo a superfície existente está no local?
- Que veículos você pretende conduzir no local?
Se seu local tem drenagem precária e você frequentemente tem alagamentos ou acúmulo de água, considere como vai eliminar essa água. Será necessária uma solução de drenagem de águas superficiais?
Novas superfícies
Se você está começando do zero, garantir que suas grelhas de gravilha durem muito tempo requer que você pense cuidadosamente na fundação que lhes dará.
- Veículos passarão sobre as grelhas? Se sim, que tipo de veículos?
- Que tipo de solo eu tenho? É de drenagem livre?
Ao realizar qualquer projeto de superfície para motocicletas, carros, vans e caminhões, você não pode ignorar a instalação de uma sub-base. É a fundação que sustenta todo o projeto.
Sem uma sub-base fixa, você está confiando em um solo que contrai e expande (particularmente solos argilosos) que se move para suportar algo projetado para ficar parado. As grelhas deslizariam entre os pneus do carro e o solo como um lençol passando por um rolo.
Se seu solo tem problemas de drenagem e fica encharcado, colocar uma sub-base abaixo das grelhas ajudará na absorção dessa água. Ela cria uma camada permeável que permite que a água da chuva se mova para o subsolo.
Etapa 2: Pedindo Materiais
Nenhum projeto está pronto para ser concluído sem uma lista de materiais e um cronograma de quando serão entregues. Ter uma ideia das datas de entrega ajuda você a planejar quando iniciar uma determinada fase da instalação. Ter materiais suficientes para completar o projeto garante que não haja atrasos desnecessários.

2.1 Lista de Verificação de Materiais Essenciais
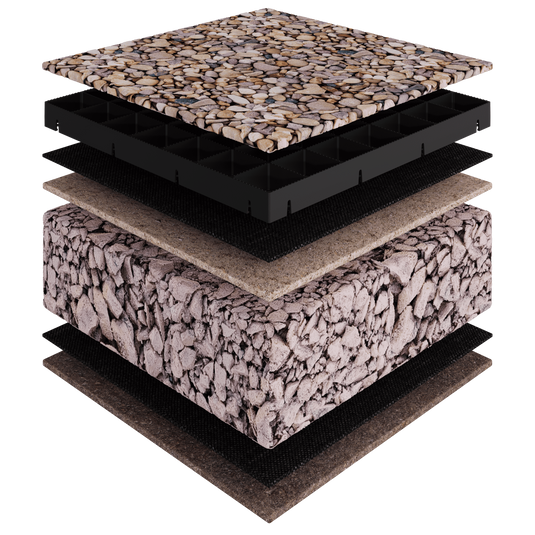
Ao instalar grelhas de gravilha em uma superfície completamente nova, você precisa garantir que as camadas de sub-base sejam compactadas e profundas o suficiente para serem eficazes.
- Geotêxtil para acima e abaixo da sub-base.
- Materiais de sub-base para profundidade de 150mm.
- Grelhas de gravilha (calculadas multiplicando m2 por 4).
- Componentes de borda e rampas para instalação em concreto.
- Membrana supressora de ervas.
- Profundidade de 50mm de gravilha angular de 20mm.
2.2 Pedindo a Quantidade Certa
- Sua sub-base deve ter pelo menos 150mm de profundidade quando compactada.
- Abaixo de toda boa sub-base há um geotêxtil/membrana permeável que permite que a água passe para o solo abaixo.
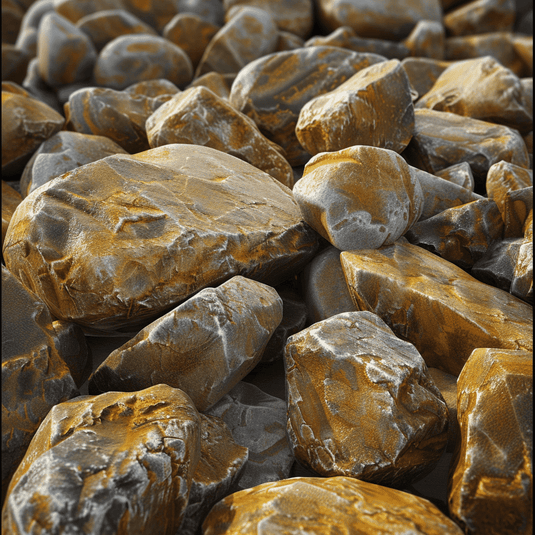
- Dentro das grelhas, você pode colocar qualquer pedra de 10-30mm que preferir, mas gravilha angular de 20mm é a melhor.
- Usar pedras menores que 10mm pode fazer com que fiquem presas nos pneus, enquanto pedras maiores que 30mm podem ser difíceis de preencher. Calcular quanto desses materiais você precisa para uma sub-base de 150mm de profundidade é muito simples, graças a estas ferramentas úteis:


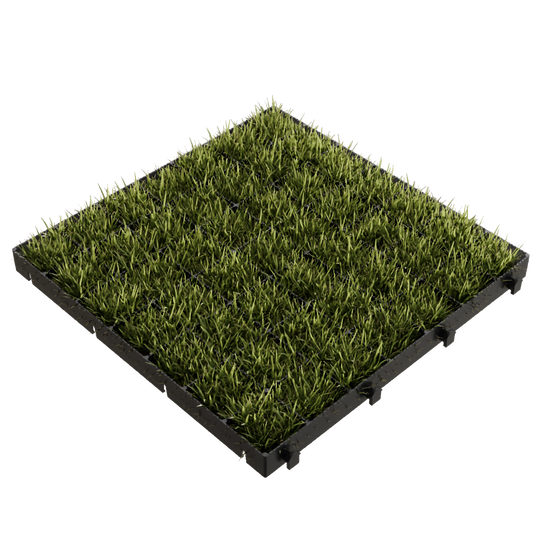
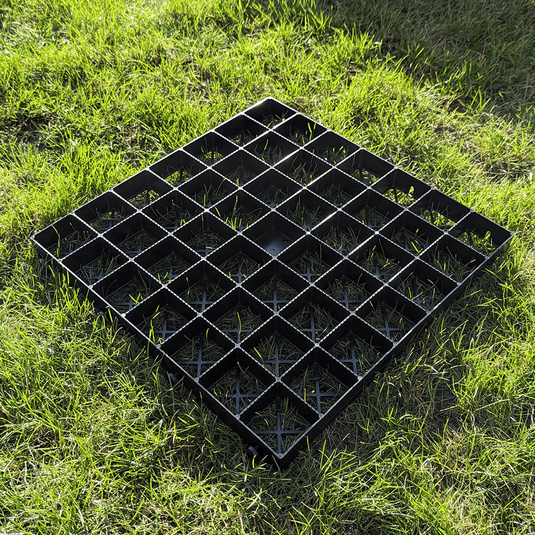
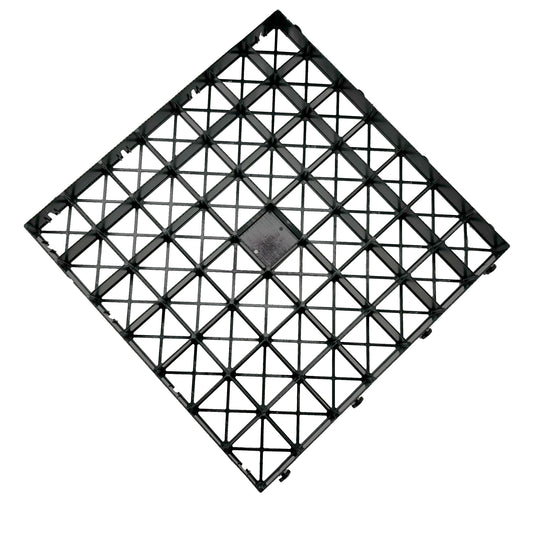
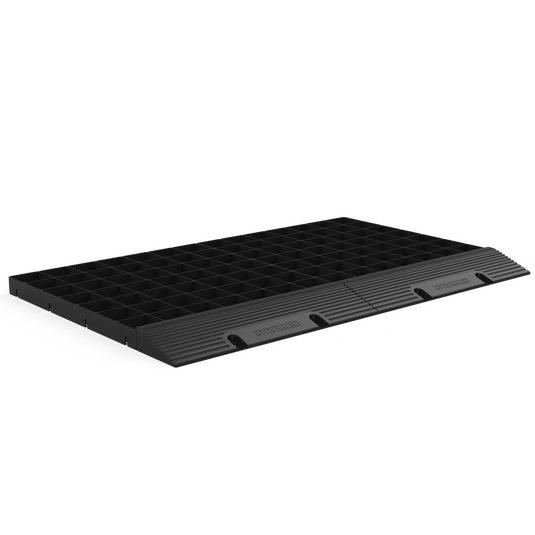
Ordering Gravel Grids
The most important step is ensuring you have enough grids to cover the area you've measured completely.
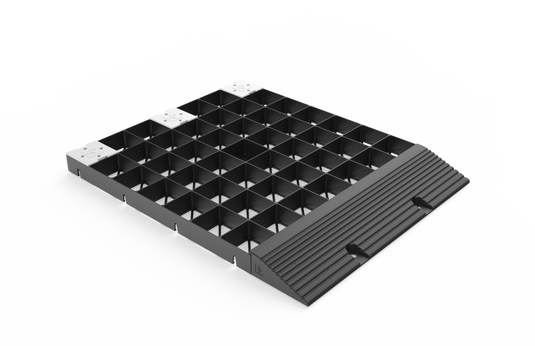
To do this you'll need to calculate how many IBRAN-X gravel grids your site needs. Fortunately this is as simple as multiplying the area you measured earlier by four.
For example, if your site measures 13m x 6m (78m2), you would need 312 grids.

Additional components
In addition to ordering the membrane, sub base and grids, you might want to consider adding a few components to the installation to ensure that the surface is complete, fully functioning and durable for longer.
These are some of the products worth considering:
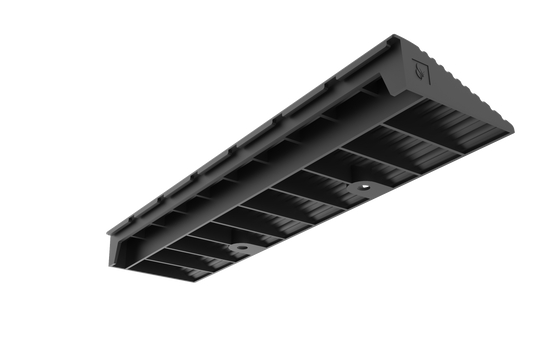
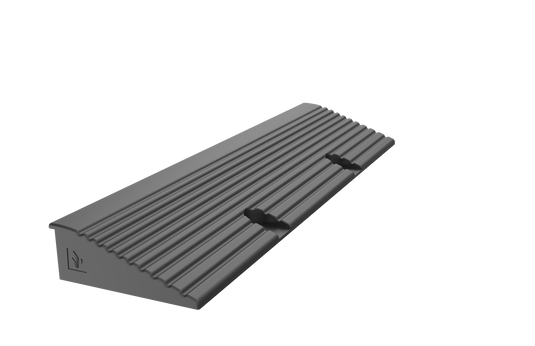
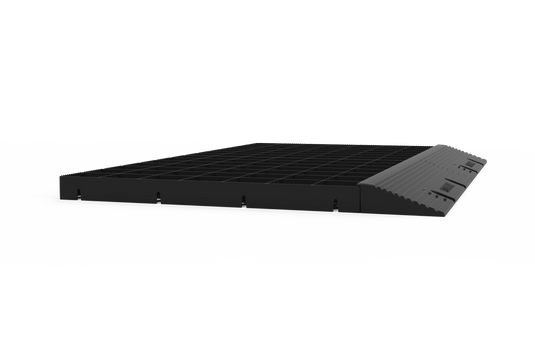
Gravel Grid Ramp Edging
If you've decided to install the grids over an existing surface, you will need edging ramps to ensure that the entrance is protected and anchored. These ramps should be bolted down using 12mm expansion bolts.

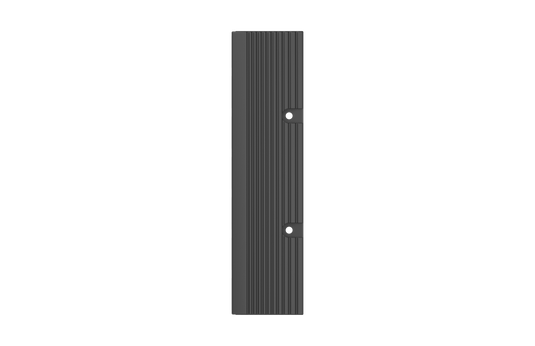

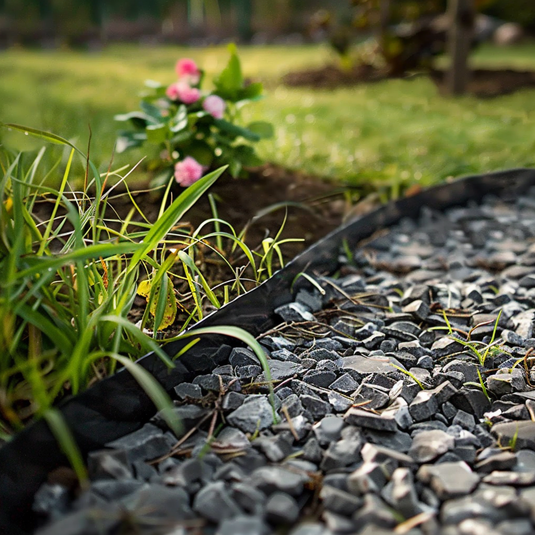
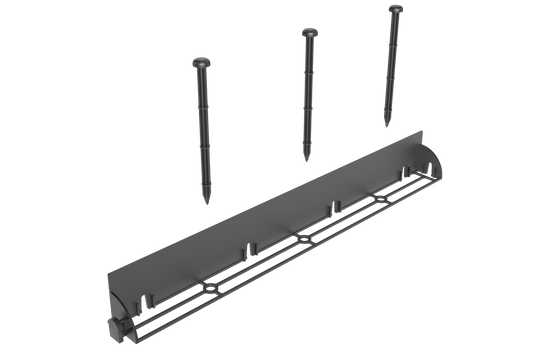
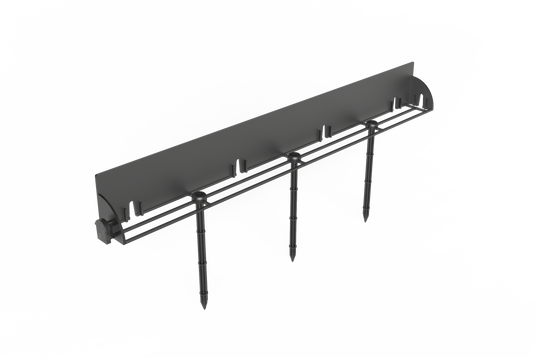
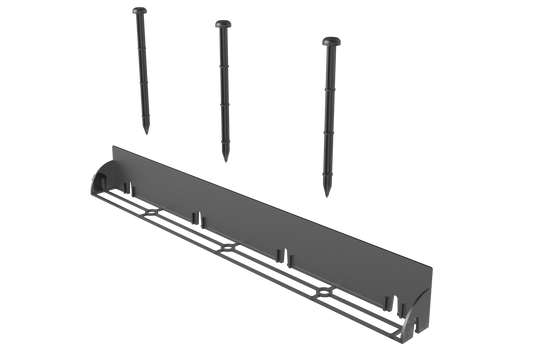
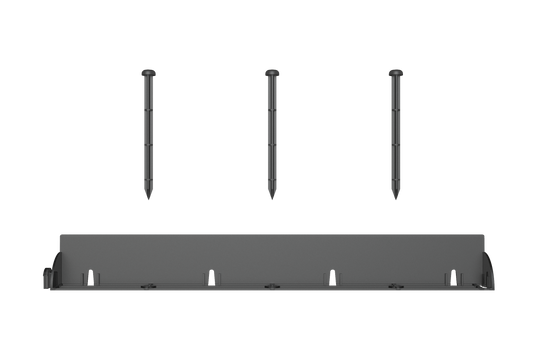
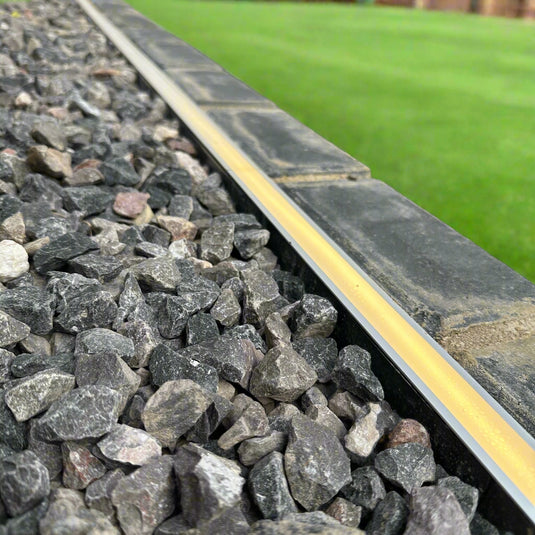
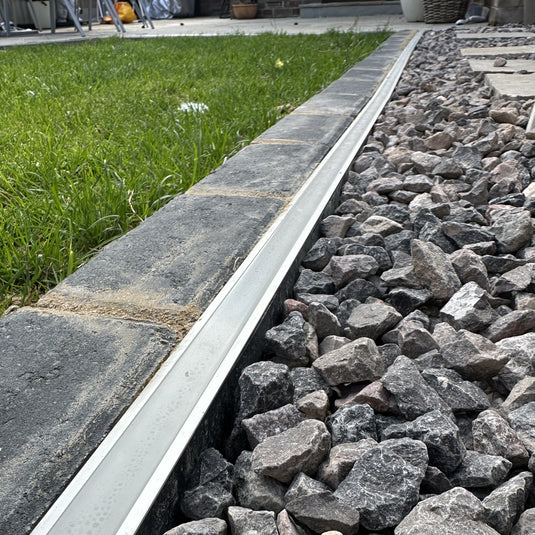
Border Edging
These border edging strips attach directly onto the connectors of the grids, providing a solid division between your gravel surface and adjoining borders and lawns
They can be used to anchor your gravel grid installation on top of an existing surface. They have holes through which you push ground anchors. For installations adjoining grass, the edging strips are packaged with anchor pegs.
Step 3 - Preparing the Sub Base
Now that you have your materials on order and scheduled for delivery, it's time to prepare the site for installation. If you're installing you gravel grids on concrete, you can skip the excavation step of the guide.
Getting your levels right
The key to a good sub base is getting enough material in, compacting it, and ensuring that it is level. Using our sub base calculator our sub base calculator to calculate your total sub base requirements, you have enough type 1, 2, or 3 MOT to create a 150mm deep sub base layer.
During this part of the installation, layer the sub base up 50mm at a time, compacting each layer in turn. It helps to keep the sub base wet and to use a whacker plate/compactor. This wetness helps to bind any fine particles ("fines") in the material, filling in the voids.
3.2 Excavation Depths
- Excavate to a minimum depth of 210mm to allow for the sub base, sand, grids, and stone overfill.
- To save time and effort, consider hiring a mini-digger.
- Grade the surface and line it with a permeable geotextile membrane. This allows water to pass through while preventing the sub base from sinking.
- Fill with 150mm of compacted type 1/2/3 MOT sub base, layering it 50mm at a time and compacting each layer.
- Cover with 10mm levelled sharp sand, spreading it evenly and compacting it to protect the weed suppressant membrane and prevent sub base movement.
- Line the sharp sand with a permeable membrane to minimise weed growth.
- Ensure that the sub base layers are compacted and deep enough to be effective, checking your final level with a spirit level.
3.3 Filling in Any Holes
This step applies only to installations on existing concrete or tarmac surfaces.
Most people choose to replace a concrete or tarmac surface because it is extremely broken and unsightly. Installing gravel grids on top of concrete or tarmac is possible, but you should fill in any holes with type 1 MOT and sand.
Now that your surface is ready, you can start to work on laying gravel grids.
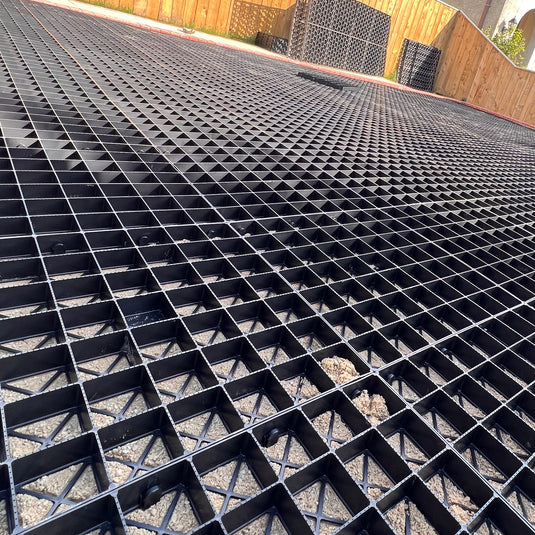
Step 4: Laying Gravel Grids
This is the step where you really start to see the transformation begin. It is a really satisfying process, as the grids quickly connect to one another and form one continuous surface over the membrane, ready for your stone.
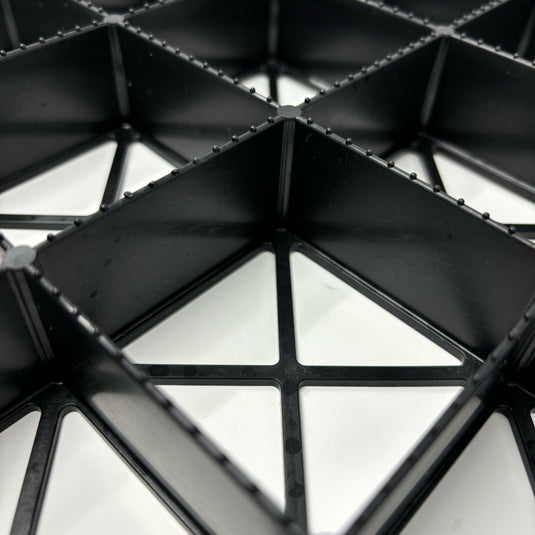
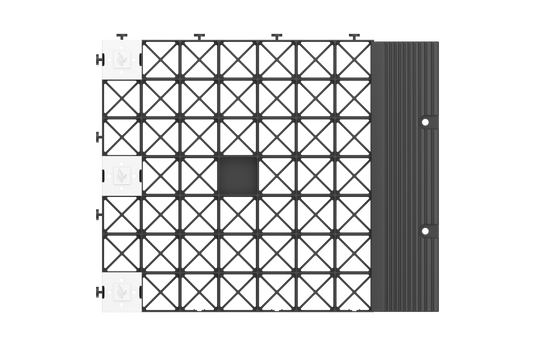
4.1 Connecting the Grids
Orientate all of your grids the same way in the same row. Keep the male connectors on the bottom and right-hand side of the grids as you lay them. Work upwards and back, interlocking one row at a time, pushing the female connectors down onto the male connectors.
When you get to the edges, you may need to cut the grids to fit the shape of the area you're installing within. This can be done with any saw, but a jigsaw is the preferred choice.
4.2 Ensuring Stability
Make sure your edges are well bound into the sides of your area. This tight fit keeps the grids from moving around when driven over. If you're using an edging product, now is the time to use them.
Check over the surfaces and make sure there are no hidden bumps or lumps. The grids need to sit level on the ground.
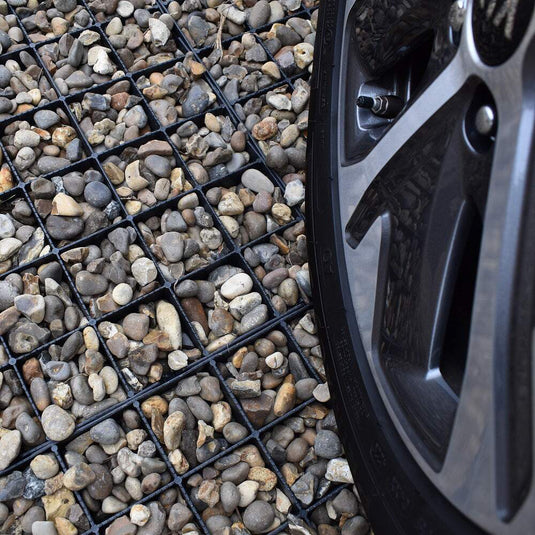
Step 5: Filling with Stone
The final stage of your installation is filling in the cells with gravel.
We recommended using 20mm angular gravel but you could just as well fill them with anything that you prefer the look of. 10mm gravel is great for areas without much vehicle use. 30mm gravel works well with areas designed for wheelchair users.
Some installers like to compact the stone within the cells using the whacker plate used for the sub base. This is not necessary, but it does aid compaction at the lower parts of the cells.
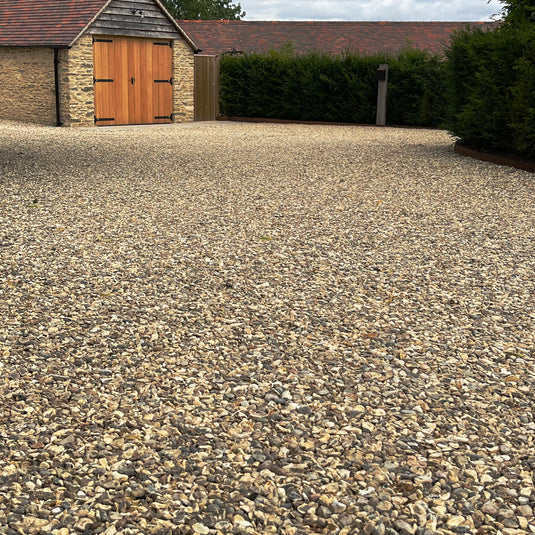
Your gravel driveway is now ready for use!
Remember, IBRAN-X is the only system designed to help you install your gravel grids on virtually any site.
Final Checks and Maintenance Tips
- Ensure all grids are level and tightly connected.
- Apply additional gravel over time to maintain coverage.
- Monitor drainage and replenish gravel as necessary.
Installation Video
Video Installation Guide
Our installation guide can be found on YouTube as a watch-along guide.
Watch on YouTube