Establishing a solid foundation is necessary when erecting a shed, ensuring longevity and stability. There are many different ways to achieve this. We really do believe that whatever concrete can do, our plastic shed base grids can do. But taking the extra time to build a concrete shed base is still a firm favourite for many people.
Following this simple guide will help you lay successful foundations for your new shed base:
Step 1: Precise Measurement and Marking
Begin by marking out the area for your shed. Make sure the area goes beyond the shed's dimensions to accommodate a wooden frame. Insert wooden pegs at each corner and connect them with a taut string line. You need to make sure the lines are square. To do this measure the distance between one corner to the other. They need to be the same. Adjust the position of the wooden pegs as needed.
Step 2: Excavation
Now it’s time to prepare the sub base. Dig a pit with a depth of 100mm, ensuring a level bottom. Remove vegetation and debris which could undermine your sub base. It helps to compact the earth after excavation. Depending on the size of your base and for ease, you might want to consider using a mini digger to save breaking your back.
Step 3: Sub-base Installation
As concrete breaks up when laid directly on soft ground, a hardcore sub-base on top of a geotextile membrane is required. MOT Type 1 hardcore is the go-to material for this, and you want to layer it 50mm at a time. Compact it thoroughly on each layer of 50mm. Once satisfied with the levels and compaction, you’ll need a layer of sand on top to finish the levelling and to prevent puncturing the damp-proof membrane.

Step 4: Formwork Construction
Construct a frame of treated timber matching the slab's dimensions. Make sure the frame is square and level. Drive wooden posts at one-metre intervals around the formwork to stop the frame warping under the weight of the concrete. Ensure it is in level with a spirit level.
Step 5: Damp-proof Membrane Application
Cover the entire sub-base with a damp proof membrane, ensuring edges are turned up inside the formwork to create a tray. Overlapping and taping joints is essential to prevent concrete drying issues and minimise condensation. Don’t use a staple gun to attach the membrane to the formwork as the membrane will tear when the concrete is poured.
Step 6: Concrete Mix
Calculate the required concrete volume by multiplying length, width, and depth of the slab. Order concrete accordingly, considering a standard mix ratio of 1 part cement to 5 parts ballast (aggregate and sand). You might want to cover up your skin and eyes as the cement can cause burns.
Step 7: Concrete Pouring and Spreading
Efficiency is vital as concrete begins setting within hours. If you can’t mix the concrete directly next to the form, then use wheelbarrows to transport concrete to the site. Keep the concrete moving within the form to ensure it stays workable. Spread and level the concrete with shovels or rakes, followed by tamping to eliminate air bubbles. A polythene cover will help to prevent rapid drying and consequent cracking.
Step 8: Curing Process
Allow a minimum of 48 hours for the concrete to dry sufficiently for walking. Removal of formwork timber is then possible once the concrete has dried. Bear in mind though that complete curing takes 28 days before accommodating heavy loads.
Conclusion
As you can see, building a concrete base is a very hands-on process requiring different equipment and skills. Once set, the concrete will provide a solid foundation for your shed for years to come. As part of a more substantial construction, you might prefer the assured solidity of the concrete base.
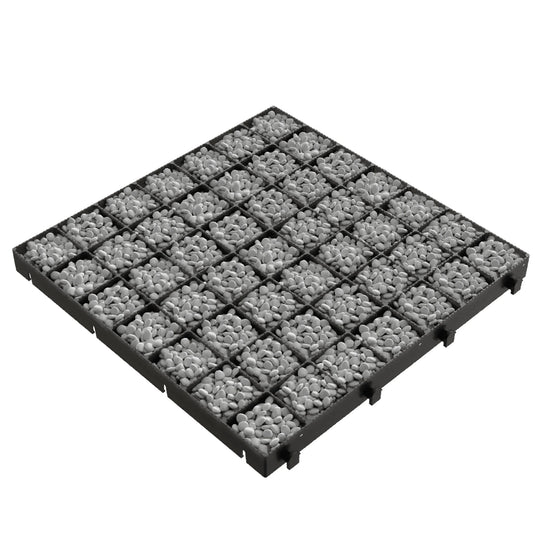
If you’re not keen to tackle this yourself, or you simply don’t have the time, you might want to consider a plastic shed base kit. It provides the same solidity and durability whilst also providing drainage and airflow to your new garden shed building.


